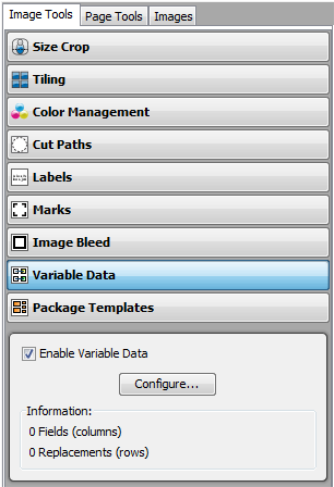
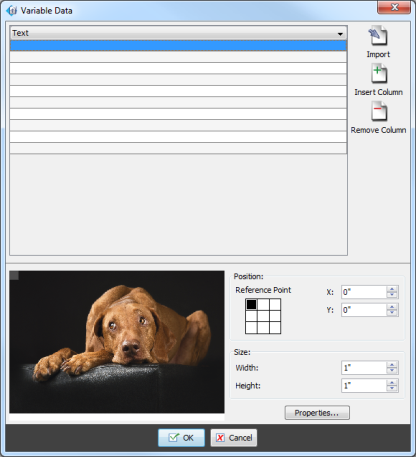
The [Configure] option of Variable Data allows you to control exactly where, how, and what objects will appear in each image. You can set the following options:
- Rows & Columns area— Each image in your batch of images is represented by a row in a column. If that row contains no information, it will not be printed. Each column represents a specific piece of information that is included on a specific job. You can set each column to represent one of three types of information: Text, Image, or Barcode. If you select [Text], the text you type in each row of that column will be placed in the final output. If you select [Image], each row represents an image that will be placed in the final output. If you select [Barcode], the text you type in each row will be converted into a Barcode that will then be placed in the final output. By default, you have only one column. If you need more, click the [ Insert Column] button. The [Remove Column] button will delete the column that you are currently using.
- Import— [Import] button allows you to import Variable Data information. When you import the information, Layout Front-end will automatically create the proper number of rows and columns.
- Position— The [Position] options controls where each column of Variable Data appears in your job. The Anchor sets the origin point for the [X] and [Y] values. You can adjust the position of the Variable Data fields by either clicking and dragging the field or changing the values of the [X] and [Y] boxes.
- Size— The [Size] options determine the [Width] and [Height] of the Variable Data fields. Use the up-down arrow to set these values.
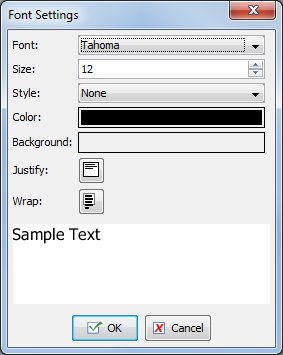
- Properties—The[Properties] button opens the "Font Settings" dialog (Figure 3). This dialog allows you to set the appearance of your Variable Data. Use the drop-down menus to select your settings.